Challenges of Caulking Projects and How to Avoid Them

1. Introduction: Why Caulking is Essential for Home Maintenance
Challenges of Caulking Projects-Caulking may seem like a straightforward task, but it plays a critical role in maintaining the structural integrity of homes. Whether it’s sealing gaps in your bathroom or preventing water leaks around windows and doors, caulking protects against moisture, drafts, and pests. Poor caulking, however, can lead to extensive damage like mold growth, water damage, and energy inefficiency.
Importance of Proper Caulking in Bathrooms, Kitchens, and Exteriors
Bathrooms and kitchens are especially vulnerable to moisture buildup. If caulk fails to seal areas around tubs, sinks, or backsplashes, water can seep into gaps, leading to mold growth and water damage. Exterior caulking around windows, doors, and siding also helps regulate indoor temperature by sealing gaps and preventing drafts, reducing energy costs. Therefore, it’s essential to get caulking right the first time.
2. Common Challenges in Caulking Projects
While caulking is a vital part of home maintenance, it can be surprisingly tricky. Below are the most common challenges people face when attempting a caulking project:
Inconsistent Caulk Lines
One of the most visible issues in DIY caulking is uneven or inconsistent caulk lines. Whether it’s too thick in one spot or too thin in another, an uneven line can not only look unprofessional but can also cause weak spots where water or air can penetrate.
Choosing the Wrong Type of Caulk
Different projects require different types of caulk. Using the wrong one can result in premature failure. For example, using latex caulk in a high-moisture environment like a bathroom may lead to cracking or mold growth.
Cracking or Shrinking Caulk
Caulk that dries too quickly, or was applied on an improperly prepared surface, can shrink or crack over time. This not only diminishes its appearance but also reduces its effectiveness, leading to potential water damage or drafts.
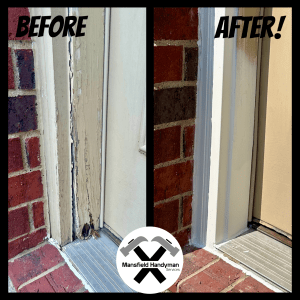
Poor Surface Preparation
Skipping the cleaning step before applying caulk can result in poor adhesion. Dirt, grime, or old caulk residue can cause the new caulk to peel away from the surface prematurely.
Mold and Mildew Growth
Improperly applied caulk in high-humidity areas like bathrooms can harbor mold and mildew, reducing its lifespan and compromising the health of the home environment.
3. How to Avoid Common Caulking Mistakes
Addressing these challenges requires attention to detail and proper technique. Here are some expert tips on avoiding common caulking mistakes:
Tips for Smoother Caulk Application
To ensure smooth, even caulk lines, use painter’s tape to mark off the edges of the area you’re caulking. After applying the caulk, use a caulking tool or your finger to smooth out the bead before removing the tape for a crisp finish.
Selecting the Right Caulk for Your Project
Always select the appropriate caulk for the job. For bathrooms and kitchens, silicone-based caulk is ideal due to its water-resistant properties. For exterior projects, consider using weatherproof caulks like polyurethane.
Proper Surface Cleaning and Prep
Before applying caulk, thoroughly clean the surface with soap and water, and ensure it is completely dry. Use a scraper to remove old caulk, as caulk adheres best to a clean surface.
Using a Caulking Tool for Better Results and avoid Challenges of Caulking Projects
A caulking tool helps you apply consistent pressure, making it easier to lay down a smooth, even bead of caulk. It also reduces the risk of applying too much or too little caulk.

4. Understanding Different Types of Caulk
Choosing the right caulk is crucial for project success. Here’s a breakdown of commonly used caulk types:
Silicone vs. Latex Caulk: When to Use Each
- Silicone Caulk: Best for moisture-prone areas like bathrooms and kitchens. It’s flexible, water-resistant, and durable, but difficult to paint over.
- Latex Caulk: Easier to apply and clean up, latex caulk is ideal for indoor projects where moisture isn’t an issue. It can be painted over, making it a popular choice for baseboards and trim.
Specialty Caulks for Kitchens, Bathrooms, and Exteriors
For specific projects, consider specialized caulks such as mildew-resistant silicone caulk for bathrooms or fireproof caulk for areas near stoves or fireplaces.
Weatherproof and Fireproof Caulks
Exterior caulking projects require weatherproof caulks to withstand temperature changes and moisture. For areas exposed to high heat, such as near chimneys or stoves, use fireproof caulk to ensure safety and durability.
5. The Importance of Surface Preparation
A well-prepared surface is key to caulking longevity. Inadequate preparation can lead to poor adhesion, cracks, and eventual failure.
Why Surface Prep Affects Caulking Longevity
A surface covered in dust, grease, or old caulk will not allow the new caulk to adhere properly. Even a small patch of dirt can prevent a secure seal, making it critical to clean and dry the surface before caulking.
Steps for Properly Cleaning and Drying Surfaces
- Clean the surface with soap and water.
- Remove old caulk with a scraper or utility knife.
- Use a degreasing cleaner for greasy or oily areas.
- Let the surface dry completely before applying new caulk.
Using Backer Rod for Deep Gaps and Joints
In joints deeper than 1/4 inch, use a backer rod to fill the space before applying caulk. The backer rod supports the caulk and prevents it from sinking or cracking over time.
6. Handling Tough Caulking Situations
Some areas are trickier to caulk than others. Here are strategies for common tough caulking challenges:
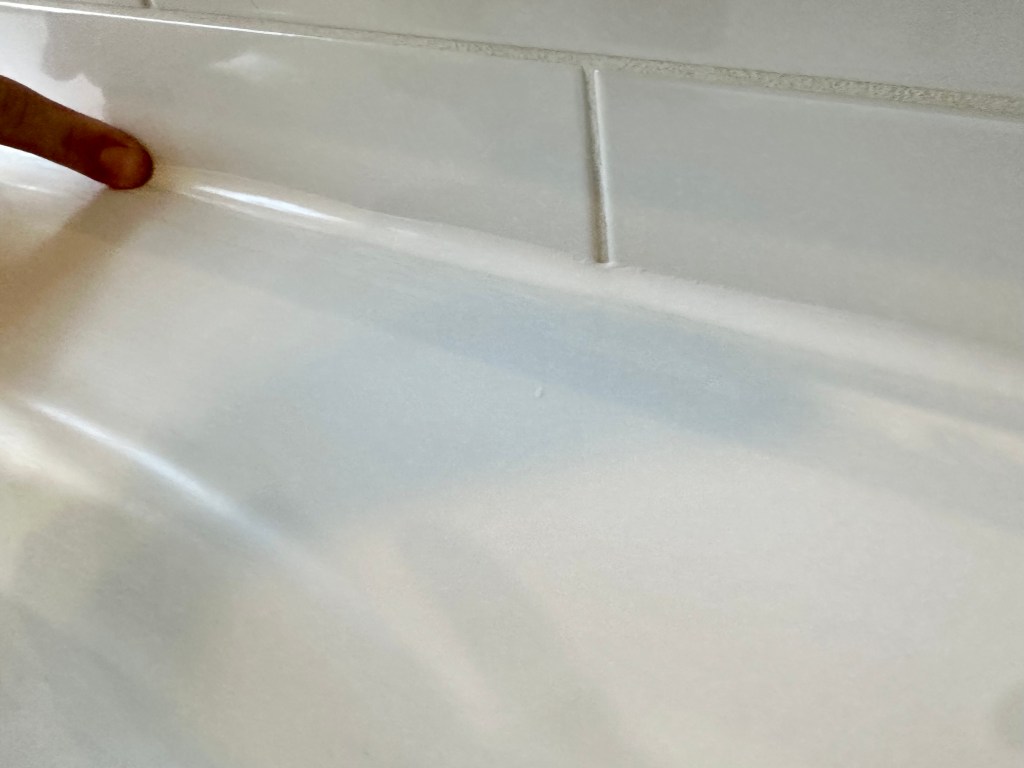
Caulking Around Bathtubs and Sinks
In areas like bathtubs and sinks, use mildew-resistant silicone caulk to prevent water damage. Fill the bathtub with water before caulking to ensure the seal remains tight even under pressure.
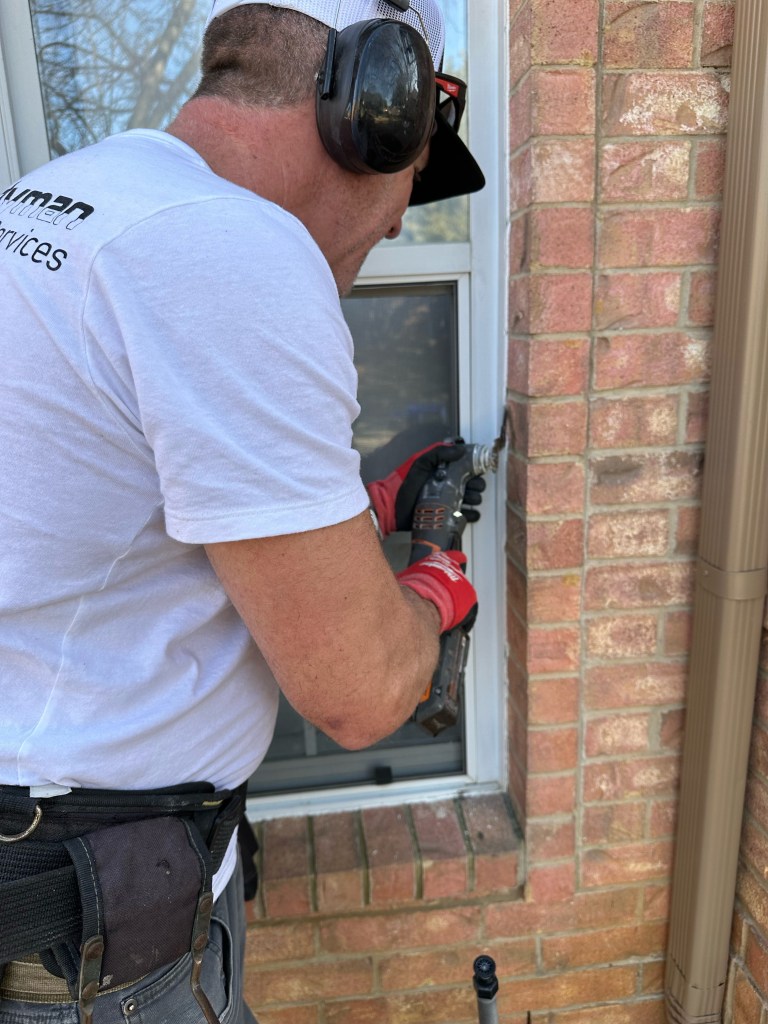
Sealing Gaps in Brick or Stone Exteriors
Exterior surfaces like brick and stone require a different approach. Use a caulk designed for masonry, such as polyurethane, and make sure the surface is clean and dry before application.
Re-caulking Over Old Caulk: When and How
While it’s sometimes possible to apply new caulk over old caulk, it’s not recommended. For the best results, remove the old caulk completely before applying a fresh layer. This ensures better adhesion and a longer-lasting seal and you will avoid challenges of caulking projects
7. Professional vs. DIY Caulking: Which is Right for You?
Caulking is one of those projects that can seem deceptively simple. However, the challenges involved often lead homeowners to wonder if they should attempt it themselves or hire a professional.
Pros and Cons of DIY Caulking
- Pros: DIY caulking can save money, and with the right tools, small projects can be tackled by a homeowner with some patience.
- Cons: Without experience, DIY caulking can result in uneven lines, poor adhesion, and ultimately, the need for professional repairs.
When to Call a Professional
If the area you need to caulk is large, in a difficult-to-reach place, or involves specialized surfaces like stone, it’s wise to hire a professional. They’ll have the expertise to ensure a clean, secure, and long-lasting job.
The Costs of Professional Caulking Services
Professional caulking services typically range from $250 to $500, depending on the size and complexity of the project. While it may cost more upfront, the quality and longevity of professional work often save you money in the long run by preventing damage from water or drafts.
8. Maintaining Caulk for Long-Term Durability
Even well-applied caulk requires occasional maintenance to ensure long-term effectiveness. Here’s how to keep your caulk in good condition:
How Often Should You Recaulk?
Most caulk needs to be replaced every 5 to 10 years, depending on the material and location. High-moisture areas, like bathrooms, may require more frequent attention.
Signs It’s Time to Replace Old Caulk
If you notice cracks, discoloration, or mold growth in your caulk, it’s time to replace it. Failing to address these issues can lead to more significant damage.
Preventing Mold and Mildew Buildup
To prevent mold and mildew, clean caulked areas regularly and ensure they remain dry. Use mildew-resistant caulk in areas like bathrooms and kitchens to extend the life of the seal.
9. Conclusion: Best Practices for Caulking Success
Caulking may seem like a simple task, but the challenges it presents can lead to costly mistakes if not handled properly. With careful planning, proper surface preparation, and the right materials, you can tackle most caulking projects with ease. However, for more complex jobs or for homeowners seeking long-term durability, hiring a professional is often the best route.
To learn more about re-caulking please visit our Bathroom & Kitchen Caulking Service page.
There you can read about our service, view pricing, and self-schedule.!